Last updated November 21, 2026
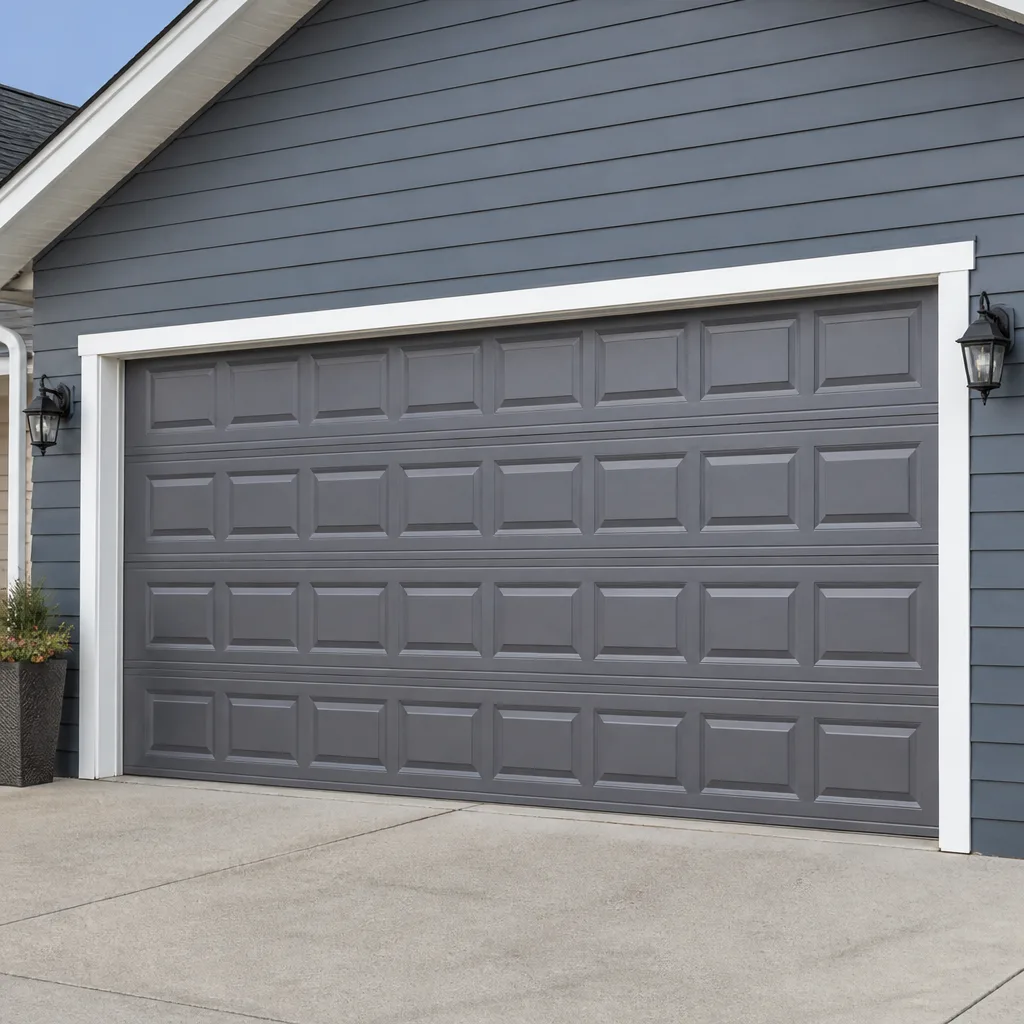 Raised-panel steel
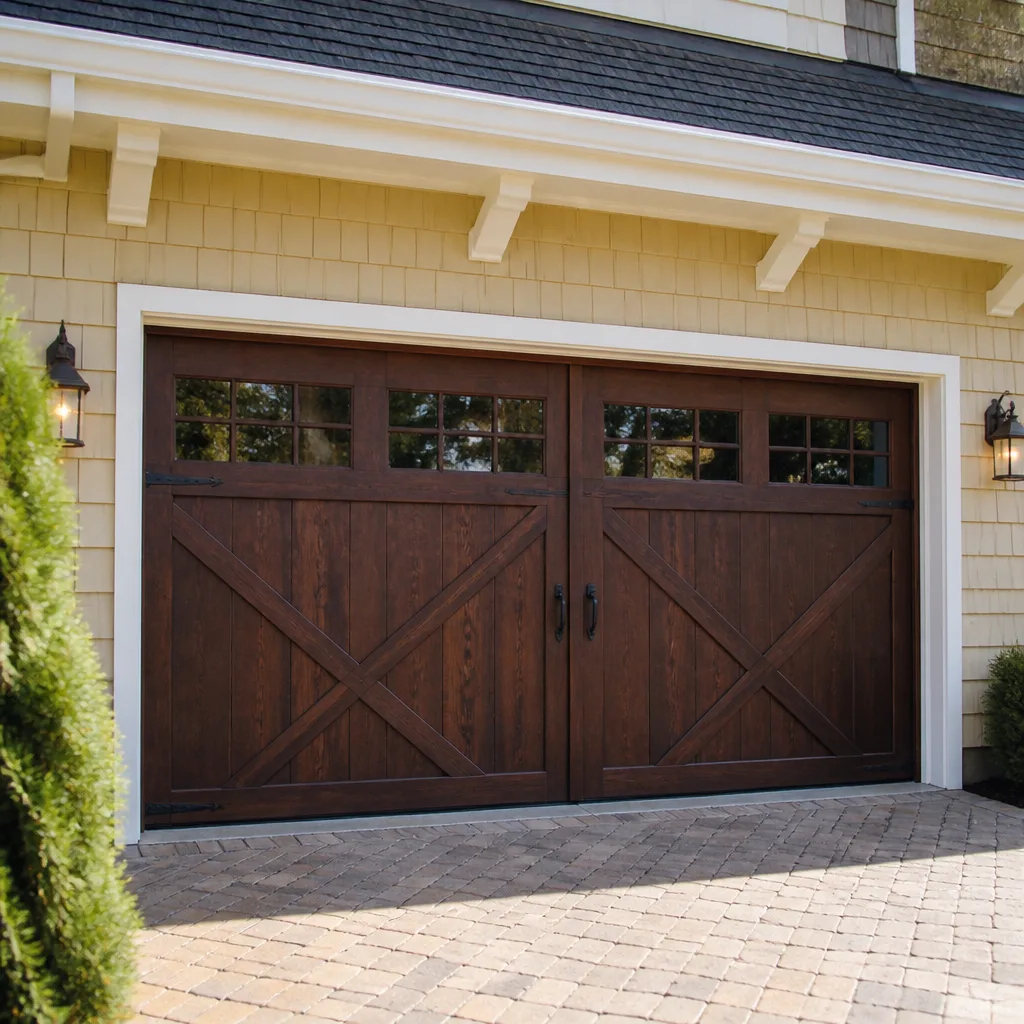 Carriage house
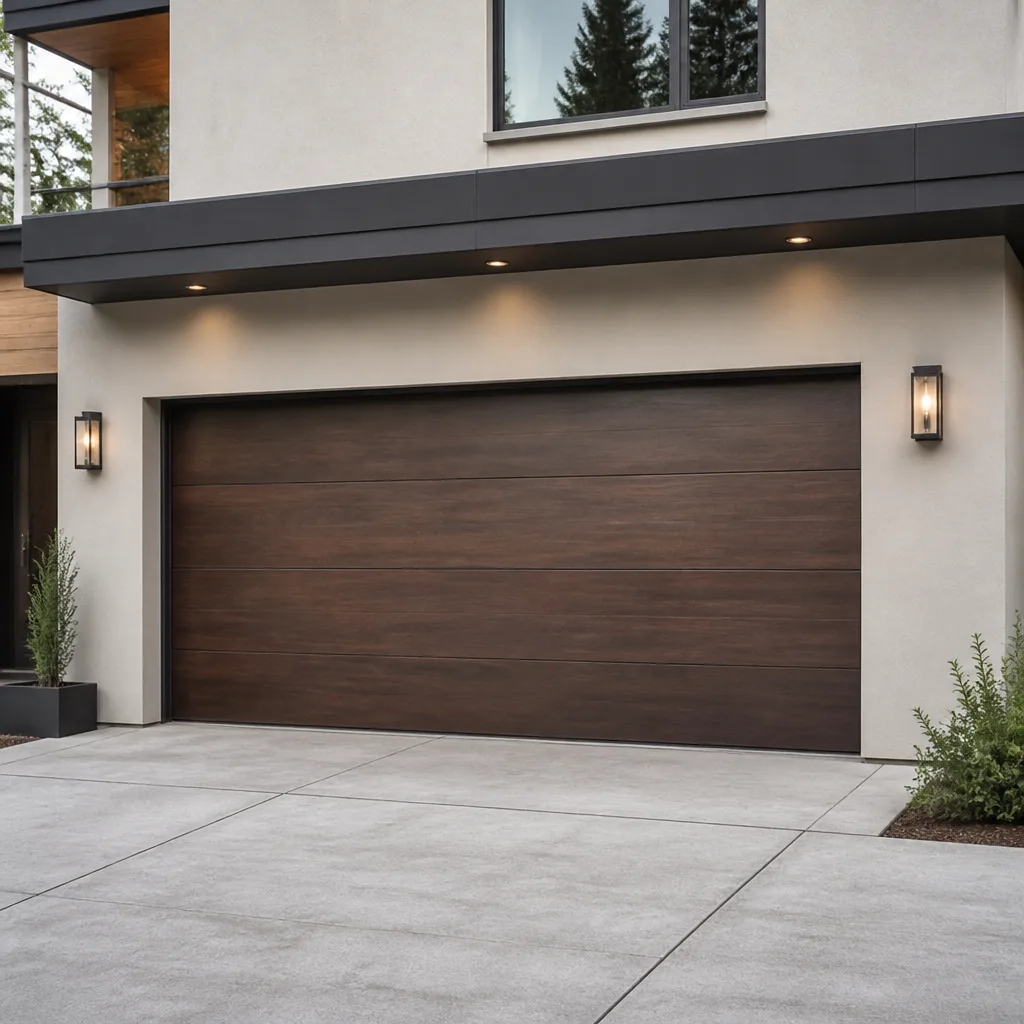 Modern flush
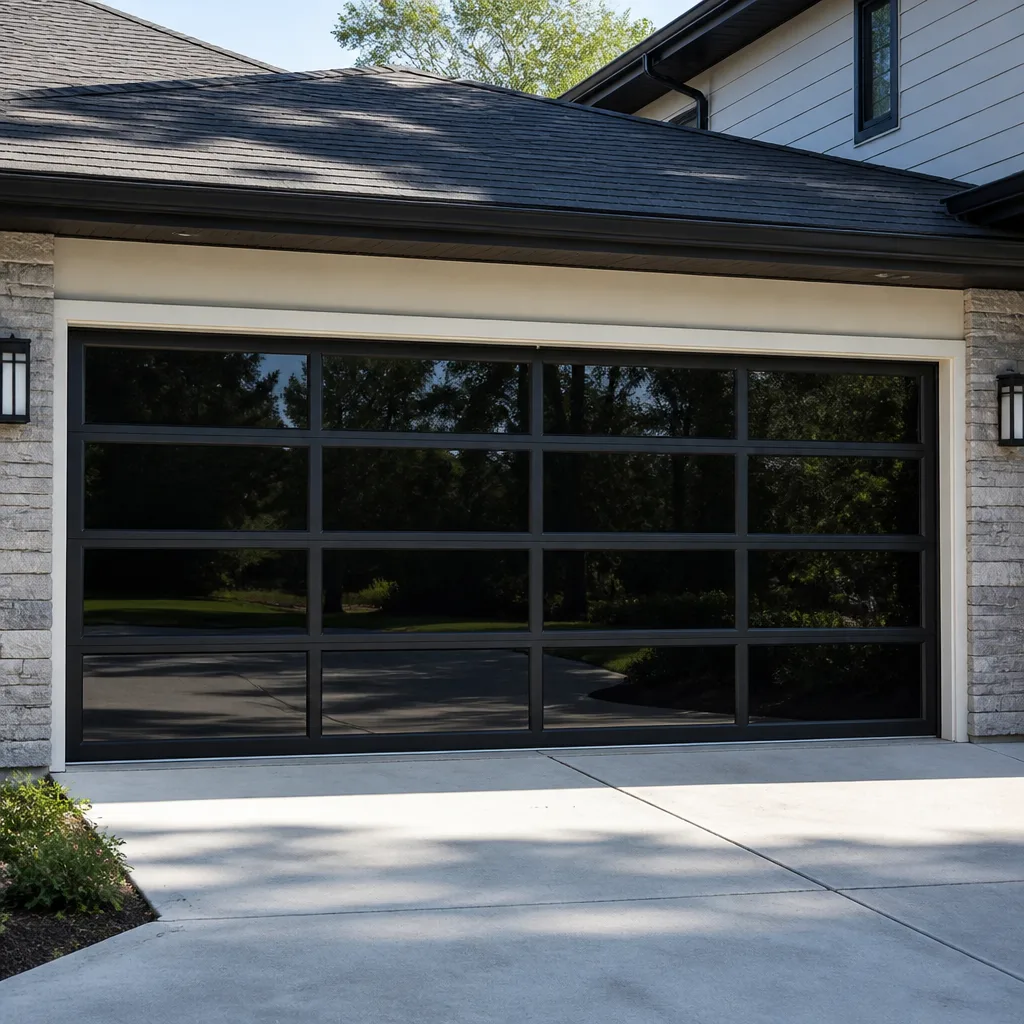 Full-view glass
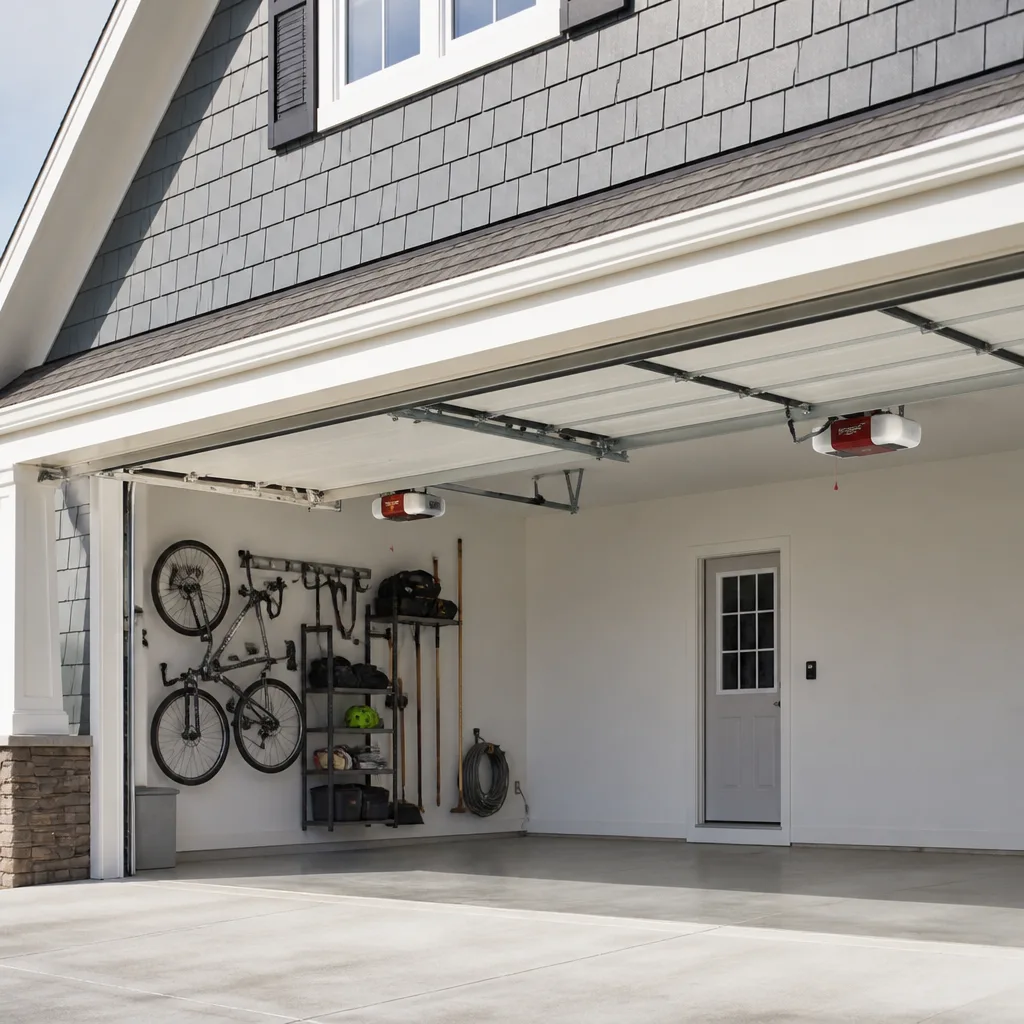 LiftMaster openers
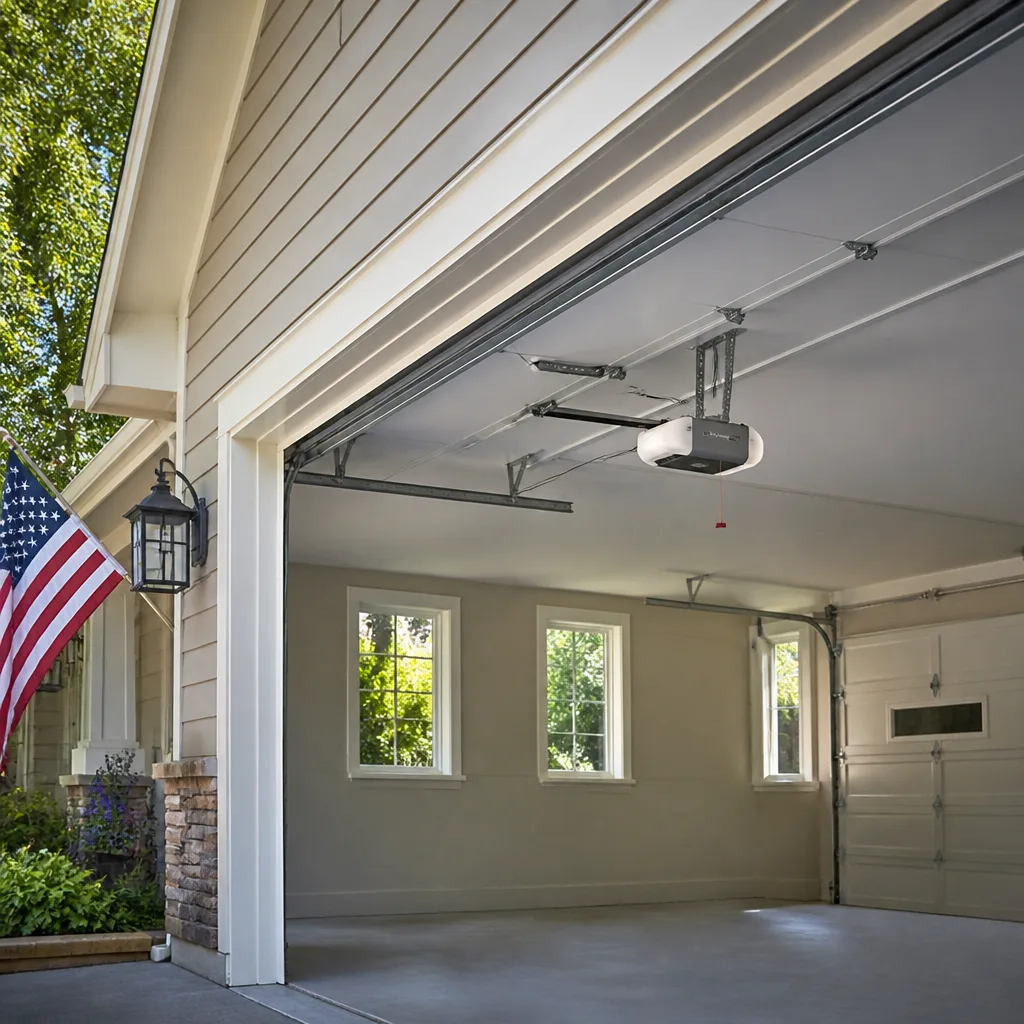 Chamberlain openers
Full 25-point door and opener safety check with every visit - springs, cables, rollers, tracks, and your LiftMaster or Chamberlain opener included
You get a price before we start. It does not change when the pro arrives.
Get your free estimateGarage Door Repair Maintenance Checklist for Greenwood Homeowners
Most garage door problems we get called about don’t start with a bang. They start with two small checks a homeowner skipped three years in a row. A dry roller that quietly wore a flat spot into itself. A photo-eye lens that collected dust until the door decided the driveway was blocked. By the time the door stops working, a fifteen-dollar lubrication job has turned into a broken torsion spring and a car trapped inside. This guide is built to stop that. It’s a working checklist you can print and hang on the wall of your Greenwood garage, with pass/fail criteria for every line so you know exactly when to keep going and when to put the wrench down and call someone.
Quick Answer
A garage door maintenance checklist for Greenwood homeowners covers seven core checks done twice a year: lubrication, balance, spring condition, roller and hinge wear, track alignment, weather seal, and safety reverse plus photo-eye testing. Each check has a clear pass or fail result, and any fail on the spring, cable, or balance test means stop and call a professional. The whole routine takes about 20 minutes and is best done once in late fall before winter and once in late spring before humidity climbs.
Styles & brands we work with
- Raised-panel steel
- Carriage house
- Modern flush
- Full-view glass
- LiftMaster openers
- Chamberlain openers
Table of Contents
- Why Greenwood Doors Fail Differently
- What You Need Before You Start
- Check 1: Lubrication by Component
- Check 2: The Balance Test
- Check 3: Springs and Cables
- Check 4: Rollers, Hinges, and Tracks
- Check 5: Safety Reverse and Photo-Eyes
- Seasonal Timing and Your Maintenance Log
- Common Mistakes to Avoid
- When to Call a Professional
- Frequently Asked Questions
Why Greenwood Doors Fail Differently
Greenwood sits in central Indiana, which means your garage door lives through two very different stress seasons every year. Summer brings humidity that swells wood door panels, softens paint, and works its way into hinge pins. Winter brings freeze-thaw cycles that stiffen grease, contract metal, and put extra load on springs every time the temperature swings. A door that runs smoothly in April can feel heavy and sluggish by January without anything actually breaking.
That’s why a checklist built for a mild climate doesn’t serve you well here. The checks that matter most before winter are different from the checks that matter most before summer. In our experience, the doors that fail in Greenwood are usually the ones where the homeowner did the easy checks (visual inspection, listening for noise) but skipped the ones that actually catch problems early (the balance test, the lubrication schedule).
The good news is that the work is genuinely simple. None of the homeowner-side checks in this guide require special tools beyond a wrench, a rag, and a can of the right lubricant. The point of the checklist is not to turn you into a technician. It’s to help you catch the two or three things that, if left alone, turn into a call for garage door repair.
What You Need Before You Start
Gather everything before you step into the garage. Running back and forth for tools is how a 20-minute job stretches into an afternoon, and it’s how people skip the checks they don’t have the right tool for.
- A can of white lithium grease (spray or tub) for hinges and bearing plates.
- A can of garage door lubricant or silicone spray for springs and rollers.
- A clean rag for wiping down tracks.
- A socket wrench or adjustable wrench for tightening hinge bolts.
- A level for checking track plumb.
- A step stool so you can reach the springs and top rollers safely.
- A printed copy of this checklist and a pen for logging results.
Two things that do not belong on this list: WD-40 and any grease that stays tacky. WD-40 is a solvent, not a lubricant, and it will clean off the factory grease inside your rollers and leave them running dry. Heavy grease collects grit from the Greenwood air and grinds it into your moving parts. Use a dry or silicone-based lubricant on springs and rollers, and use white lithium grease sparingly on hinges only.
Check 1: Lubrication by Component
Lubrication is the single most effective thing you can do to extend the life of a garage door, and it’s also the step most people get wrong. The mistake isn’t forgetting to lubricate – it’s using one product on every moving part. Springs, rollers, hinges, and tracks each want different treatment, and applying the wrong lubricant can do more harm than good.
Springs
Use a silicone-based garage door lubricant sprayed lightly along the coil. Never use grease or oil on springs. It attracts dust, which grinds between the coils and accelerates wear. A torsion spring that squeaks after lubrication is a sign of a problem beyond dryness. That needs a look from a professional, and it’s the kind of issue we handle through garage door spring repair.
Rollers
Metal rollers with sealed bearings get one or two drops of silicone spray on the stem, not the wheel. Nylon rollers need nothing at all – in fact, lubricant on nylon rollers can cause them to slip in the track. If you have nylon rollers and they’re noisy, the roller itself is likely worn, not dry.
Hinges and Bearing Plates
White lithium grease, applied sparingly to the hinge pivot points. Wipe off the excess. A thin film is enough. Slathering it on attracts grit.
Tracks
Nothing. Tracks are the one component you should never lubricate. The door’s rollers need to roll freely inside the track, and a lubricated track makes them slide instead, which wears the rollers and can cause the door to jump. Use a rag to wipe dust and debris out of the track, and stop there.
Pass criteria: Door runs quietly, no squeaks at hinges, no grinding at rollers. Fail: Persistent squeal, metal-on-metal grinding, or a spring that visibly bows or has gaps between coils.
Check 2: The Balance Test
This is the check that catches the most problems and the one homeowners skip most often. The balance test tells you whether your springs are doing their job. If they aren’t, the opener is doing work it wasn’t designed to do, and that’s how a $150 opener repair turns into a $400 one.
- Close the door and disconnect the opener using the manual release cord (usually a red handle hanging from the trolley).
- Lift the door by hand to about halfway up, roughly waist height. It should move with steady resistance and stay roughly in place when you let go.
- Lift the door to fully open, then lower it slowly to closed. If it takes real effort to lift or drops fast under its own weight on the way down, the springs are out of balance.
- Reconnect the opener by running it until the trolley clicks back into place.
Pass criteria: The door lifts with moderate effort, holds position at halfway, and doesn’t slam or drop. Fail: The door feels extremely heavy on the way up, drops on its own, or refuses to stay at halfway. Stop the test, leave the door closed, and call a professional. A door with a broken or weak spring under load is dangerous.
Check 3: Springs and Cables
Garage door springs are the most dangerous component on the entire door, and this section is about checking them, not working on them. Torsion springs are wound under hundreds of pounds of tension. Extension springs are under similar load. If either fails while you’re handling it, the result can be serious injury. Never try to adjust, wind, or unhook a spring yourself.
What you can do safely is a visual check. Look at the torsion spring mounted above the door along the shaft. A healthy spring is one continuous coil. A failing spring will show a visible gap – often described as a two-inch split between coils – where the metal has cracked. On extension springs (the long ones running parallel to the tracks on either side), look for stretched sections, broken end loops, or missing safety cables that should run through the center of the spring.
Cables are harder to see. On each side of the door, a steel cable runs from the bottom bracket up to the drum. Look for fraying, kinks, or slack. A cable that has come off its drum is a stop-everything problem. Don’t operate the door.
Pass criteria: Springs intact with no visible gaps, cables taut and undamaged, door operates smoothly. Fail: Any visible break, gap, kink, or slack cable. Do not use the door. Call a professional for spring repair or cable replacement.
We see this failure pattern constantly in Greenwood. Springs don’t fail randomly. They fail after thousands of cycles, and a cycle count increases every time the door opens and closes. A door that gets used six times a day reaches end-of-life faster than one used twice.
Check 4: Rollers, Hinges, and Tracks
Rollers and hinges wear out gradually, which makes them easy to ignore until something breaks. The check here is straightforward: run the door and watch and listen.
Rollers
With the door closed, look at each roller from the side. The wheel should be round and smooth, spinning freely in the track. A flat spot on the wheel, a chipped edge, or a wobble when the door moves means the roller is worn. Rollers typically last several years, and replacing them is cheap compared to the wear a bad roller does to the track.
Hinges
Look at the hinges between panels. They should be tight and straight. Loose hinge screws are the most common hardware problem we see, and they’re easy to fix with a wrench. Tighten any that feel loose, but don’t overtighten – the metal is thin and strips easily.
Tracks
Hold a level against the vertical sections of each track. The track should be plumb. Look along the length of the horizontal track toward the opener and check it runs level to the door header. Bends, dents, or sections that drift inward or outward mean something has struck the track or the door has shifted. Don’t try to bend a track back into shape by hand – the metal fatigues quickly and the door can come off the track.
Pass criteria: Rollers round and spinning, hinges tight, tracks straight and plumb. Fail: Flat-spotted or chipped rollers, hinge screws that won’t tighten, bent or misaligned tracks. Track problems especially need a professional.
Check 5: Safety Reverse and Photo-Eyes
This is the check most homeowners think they’ve passed when they haven’t. The auto-reverse system has two parts – the mechanical force sensor that tells the opener to reverse when it hits an obstruction, and the photo-eye system (the two small sensors at the bottom corners of the tracks) that tells the opener to reverse when something crosses the beam. Testing one doesn’t test the other.
Testing the Force Reverse
- Open the door fully, then lay a 2×4 flat on the ground in the center of the doorway.
- Close the door using the wall button or remote. When the door contacts the board, it should reverse and go back up within about two seconds.
- If the door presses down on the board and stops, or pushes before reversing, the force setting needs adjustment.
Testing the Photo-Eyes
- Look at the two sensors at the base of the tracks. Each should have a small LED indicator. If one is unlit or blinking, they’re not aligned or one is receiving no power.
- With the door open, wave your hand slowly through the beam while closing the door. The door should reverse immediately.
- Test each sensor individually. Cover one sensor with a piece of cardboard and try closing the door. It should not close. Repeat with the other side.
Pass criteria: Door reverses on contact with the board, reverses when the beam is broken, and both sensor LEDs are solid. Fail: Any delay past roughly two seconds, failure to reverse, or a sensor LED off or blinking. Don’t use the door until it’s fixed.
If the force reverse fails on a LiftMaster or Chamberlain opener, the settings are adjustable on the opener head – but go slowly and test after every change. If the photo-eyes won’t align or one won’t light, the problem is often a damaged wire or a dead sensor, and that’s a call.
Seasonal Timing and Your Maintenance Log
Doing this checklist twice a year, at the right times, is far more effective than doing it once and forgetting it. Here’s how the two most important Greenwood seasons break down.
Before Winter (Late October to Mid-November)
Cold is the enemy of moving parts. Prioritize the checks that catch problems before the freeze. Lubricate springs and hinges thoroughly. Run the balance test – a weak spring that holds up in August can fail under January load. Check your weather seal along the bottom. A worn seal lets cold air and moisture in, and the seal itself hardens and cracks in cold weather. Test the safety reverse one more time, because cold-stiffened components can behave differently.
Before Summer (Late April to Mid-May)
Humidity is the challenge here – swelling wood panels, rusting hardware, and paint that peels when moisture gets behind it. Wipe out the tracks, check hinges for rust and lubricate them, inspect the paint on wood doors and touch up any bare spots, and look at the bottom seal for mold or wear. Run the balance test again to confirm nothing shifted over winter.
Keep a Log
The most underrated part of this checklist is the log at the bottom. For each check, write the date and a one-word result: pass, adjusted, or fail. On the next pass, you can see what changed. More importantly, if you ever do need to call a technician, the log gives them something to work with. A record of “door felt slightly heavier in October, adjusted, heavy again in April” points a technician directly at a weakening spring. Without it, every service call starts from scratch.
Two pieces of paper taped inside your garage door opener housing cover is enough. One is the checklist. One is the log.
Common Mistakes to Avoid
- Lubricating the tracks. It feels right because the tracks are metal, but a lubricated track makes rollers slide instead of roll, which wears them out faster. Wipe the tracks clean and leave them dry.
- Using WD-40 as a lubricant. It’s a solvent and water displacer. It strips the factory grease out of your rollers and leaves them running dry. Use a proper garage door lubricant or silicone spray.
- Skipping the balance test. It’s the fastest way to catch a weak spring before it breaks. Homeowners skip it because they don’t know the disconnect cord exists. Find it, use it.
- Testing only the photo-eyes and assuming the force reverse works. They’re two different systems. Test both.
- Ignoring small noises. A squeak or grind that shows up after lubrication is a warning sign. Catching it early saves a bigger repair down the line.
- Trying to adjust a spring yourself. This is the most dangerous mistake on the list. Torsion springs are under extreme tension, and a loose spring can cause serious injury. Leave it to a professional.
- Running the door after a cable or spring failure. If a spring has failed or a cable is off, the door is not safe to operate. Forcing it stresses the opener and can drop the door.
When to Call a Professional
Most of this checklist is designed to be done by a homeowner. But some failures are genuinely beyond what you should tackle, and knowing where that line sits is part of the point. Call a professional if any of the following are true: a spring is visibly broken or showing a gap; a cable is off its drum or frayed; the balance test fails with a door that drops or won’t stay at halfway; a track is bent or the door has come off the track; a force reverse or photo-eye test won’t pass after adjustment; or the door has become heavy, jerky, or noisy in a way that wasn’t there before.
Greenwood Garage Door Repair Co offers free estimates in Greenwood – call (855) 773-4548. Our technicians have up to 12 years of experience and work with all the major brands, including LiftMaster, Chamberlain, Clopay, and Amarr. If your opener is the problem, a call to garage door opener repair is the fastest route back to a working door.
Frequently Asked Questions
Twice a year – once in late fall before winter and once in late spring before summer humidity peaks. The central Indiana climate gives your door two very different stress seasons, and each one benefits from a slightly different focus.
A door that feels much heavier on the way up, or one that won’t stay at halfway when disconnected from the opener. A visible gap in the spring coil is a confirmed failure. Don’t operate the door if you see one – call a professional.
Yes, with a silicone-based garage door lubricant sprayed lightly on the coil. Don’t use grease or oil, and never attempt to adjust or wind a spring. The lubrication is safe; the adjustment is not.
Either the force setting is too high or the photo-eyes are misaligned or blocked. Test each system separately. If neither passes after adjustment, the opener may need repair or replacement.
No. A door with a broken spring is under full weight and can drop or cause injury. Stop using it and call a professional for spring repair.
It helps. A log gives a technician a timeline of what changed and when, which speeds diagnosis and can prevent unnecessary parts replacement. Two dated passes a year is enough.
The Bottom Line
A garage door maintenance checklist works because it’s specific and it’s repeatable. Pass/fail criteria on every line mean you know exactly when to stop. Lubrication by component type means you use the right product on each part. Seasonal timing means you prep for winter before the cold hits and for summer before the humidity swells. Test both safety systems every time, not just the ones you know. And log your results so a technician has a real history to work from. That’s what turns a checklist into a tool.
If anything on this list fails, or if you’d rather not do it yourself, Greenwood Garage Door Repair Co is a single call away. We handle spring, opener, panel, and full door – and we work on your brand, from LiftMaster and Chamberlain to Genie and Raynor. Call (855) 773-4548 for a free estimate.
Written by the team at Greenwood Garage Door Repair Co.
See the difference
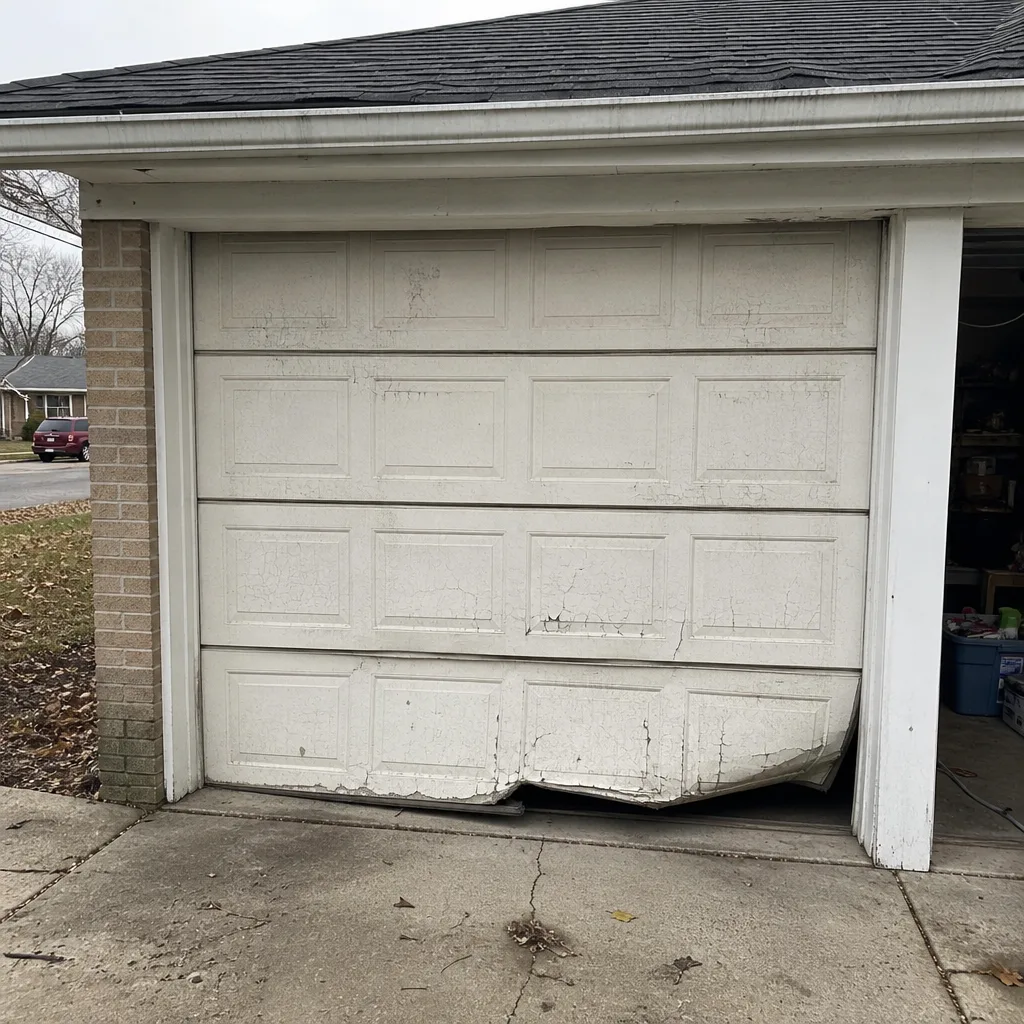 Before
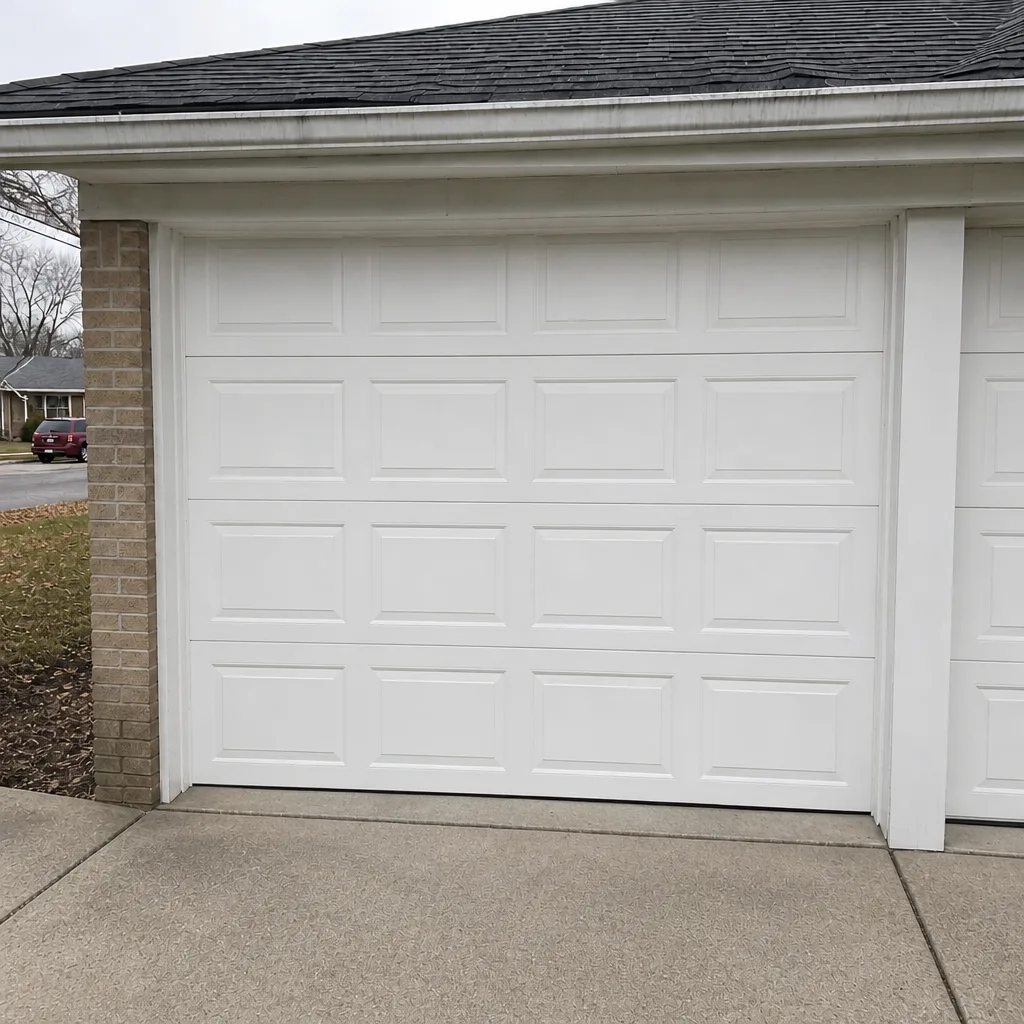 After
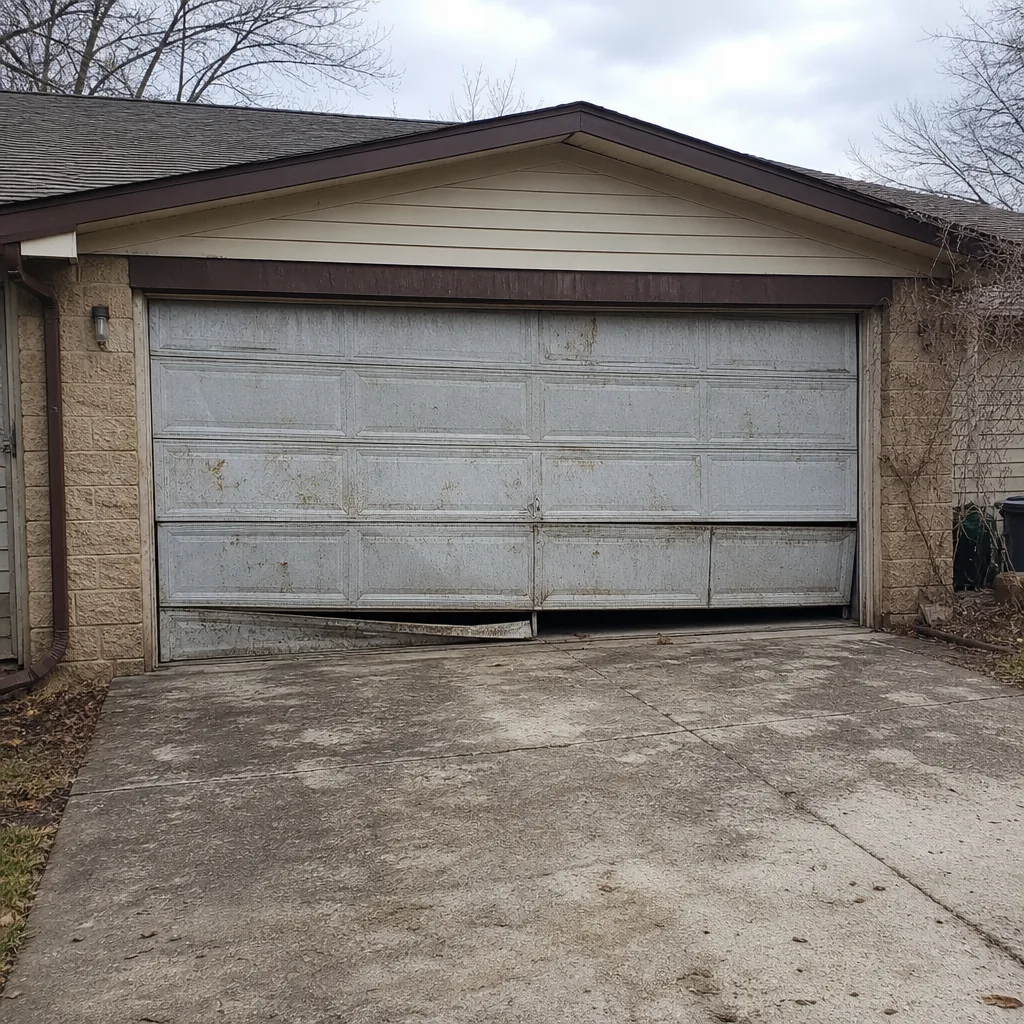 Before
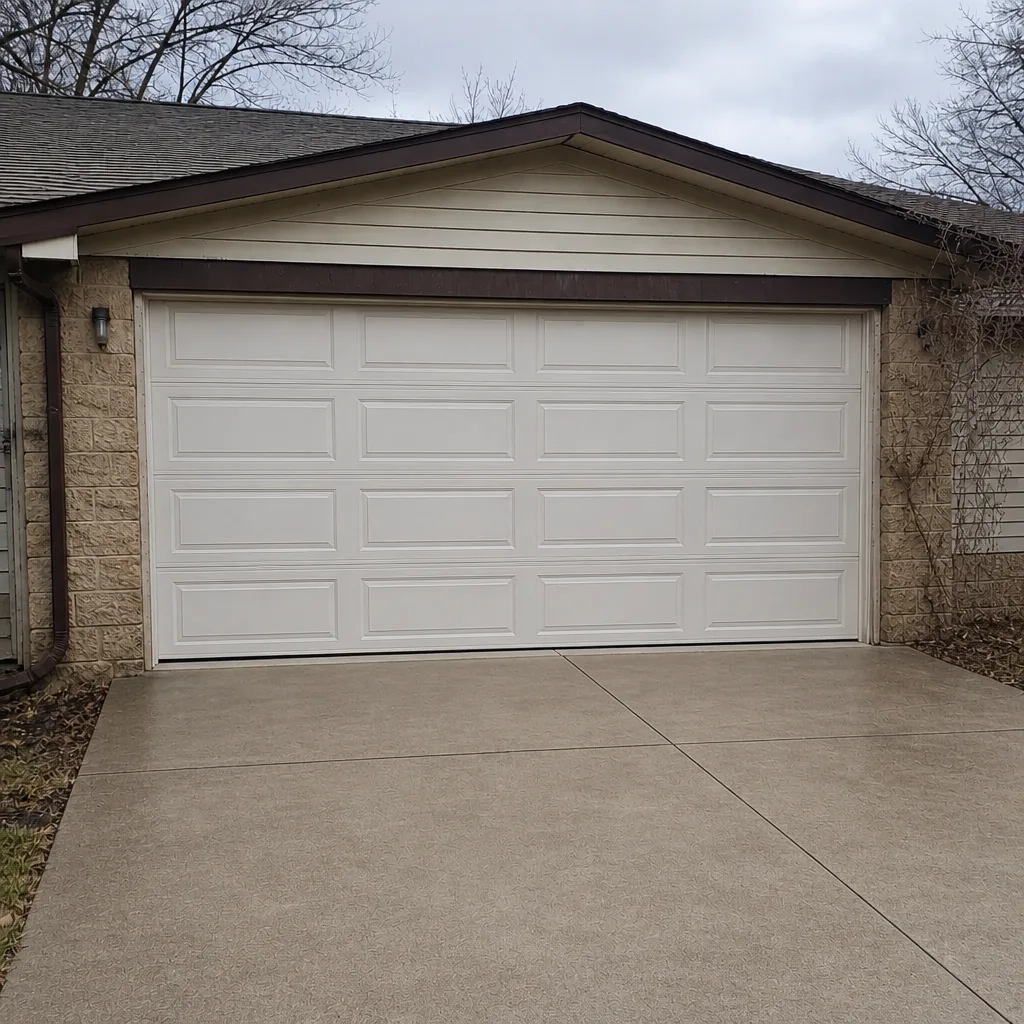 After
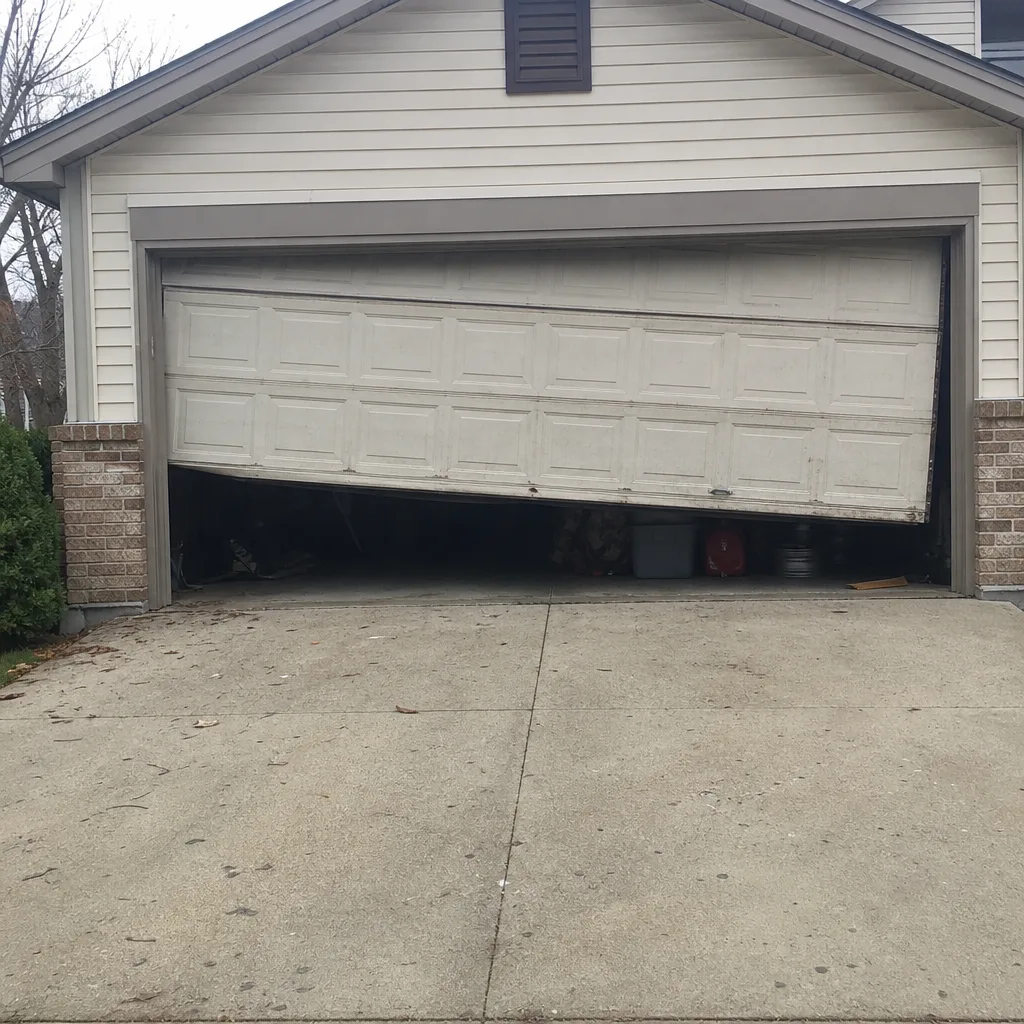 Before
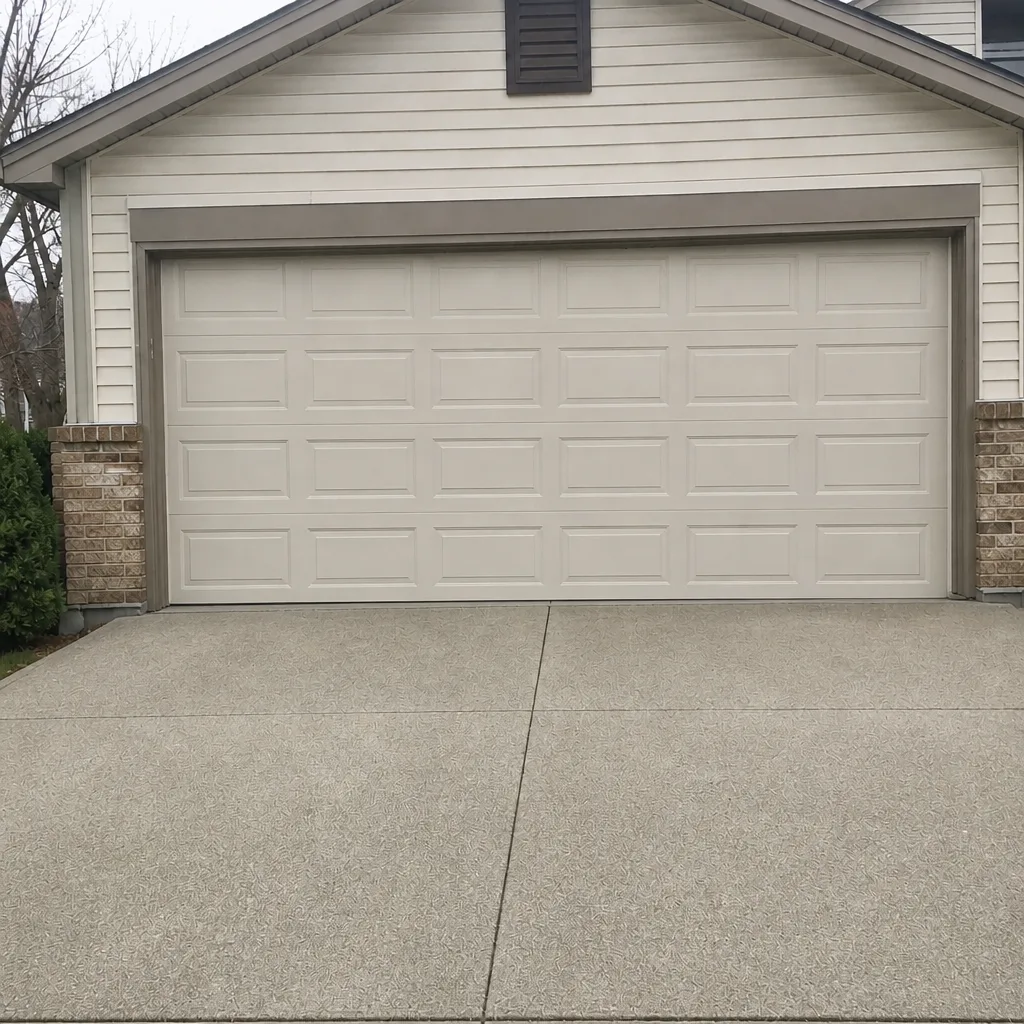 After